
[MD]
# 图像着色器
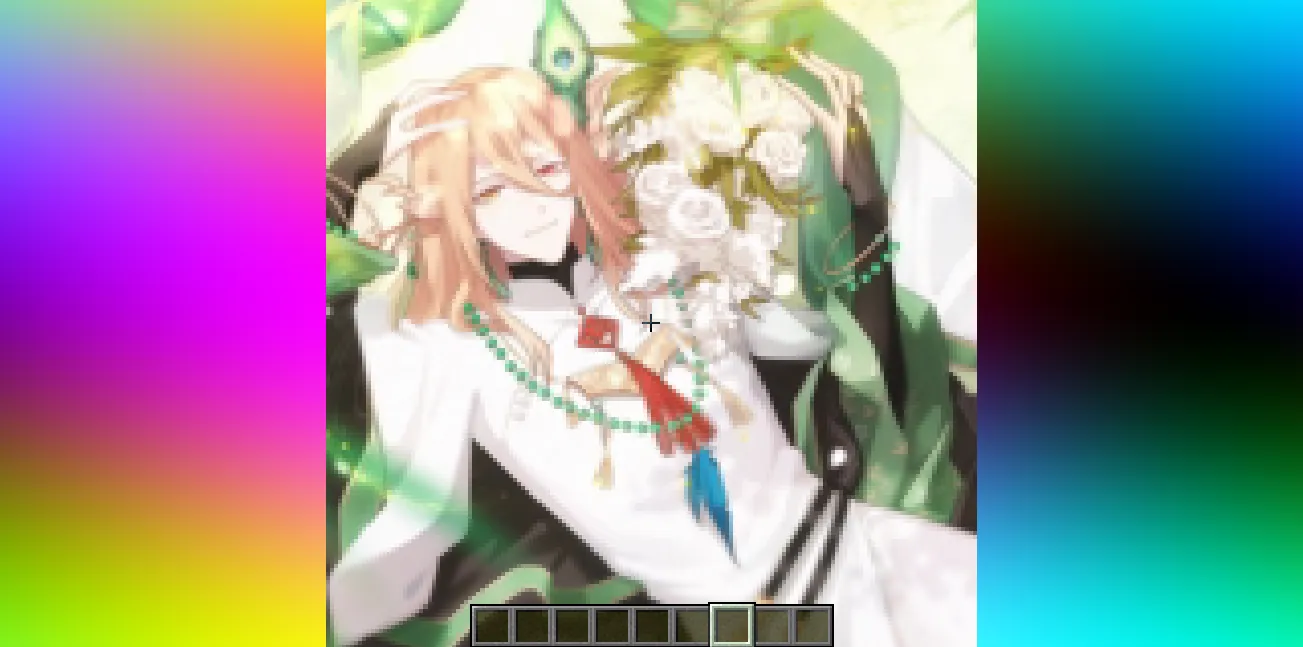
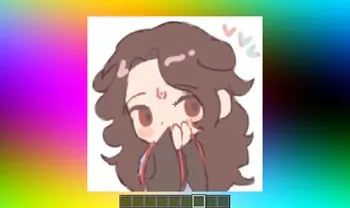
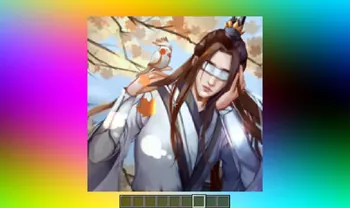
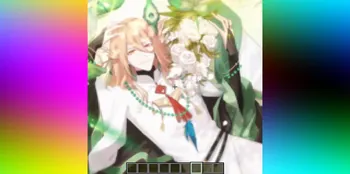
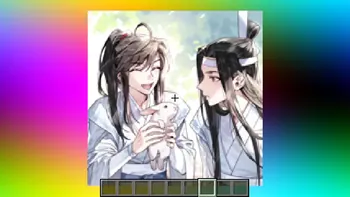
仅通过光影在游戏画面中显示一张自定义图片。
> **注意:** 光影首次编译可能需要较长时间,请耐心等待。
## 准备自定义图片
1. 使用 `ffmpeg` 或其他图片处理工具,将图片调整为 **160×160 像素**。
```bash
Using ffmpeg:
ffmpeg -i Input.png -vf scale=160:160 image.png
```
2. 将调整后的图片放入与下方 Python 脚本相同的目录中。
3. 运行脚本,生成 ``image_chunks`` 文件夹。
4. 解压光影包,将生成文件夹中的 16 个 `.glsl` 文件复制到 ``shaders/data/image_chunks``。
5. 进入游戏,在光影设置中启用“自定义图片”选项。
6. 等待光影编译完成后,即可在屏幕上显示自定义图片。
## Python 脚本
```python
from PIL import Image
import os
def generate_glsl_chunks(image_path, output_dir="image_chunks"):
try:
img = Image.open(image_path).convert('RGBA')
except FileNotFoundError:
print(f"Error: Image file not found at {image_path}")
return
width, height = img.size
if width != 160 or height != 160:
print(f"Error: Image must be 160x160 pixels, but it is {width}x{height}.")
print(f"You can use:")
print(f"ffmpeg -i image.png -vf scale=160:160 output.png")
print(f"to adjust the image resolution.")
return
os.makedirs(output_dir, exist_ok=True)
chunk_size = 40
num_chunks_x = width // chunk_size
num_chunks_y = height // chunk_size
for chunk_y in range(num_chunks_y):
for chunk_x in range(num_chunks_x):
left = chunk_x * chunk_size
upper = chunk_y * chunk_size
right = left + chunk_size
lower = upper + chunk_size
sub_img = img.crop((left, upper, right, lower))
pixel_data = list(sub_img.getdata())
array_name = f"image_data_{chunk_y}_{chunk_x}"
output_file_path = os.path.join(output_dir, f"{array_name}.glsl")
glsl_array = f"vec4 {array_name}[{chunk_size * chunk_size}] = vec4[{chunk_size * chunk_size}](\n"
for i, pixel in enumerate(pixel_data):
r, g, b, a = pixel
glsl_array += f" vec4({r/255.0}, {g/255.0}, {b/255.0}, {a/255.0})"
if i < len(pixel_data) - 1:
glsl_array += ","
if (i + 1) % 4 == 0:
glsl_array += "\n"
glsl_array += ");\n"
with open(output_file_path, 'w') as f:
f.write(glsl_array)
print(f"Generated file: {output_file_path}")
# --- Config ---
image_file = "image.png"
output_directory = "image_chunks"
generate_glsl_chunks(image_file, output_directory)
```
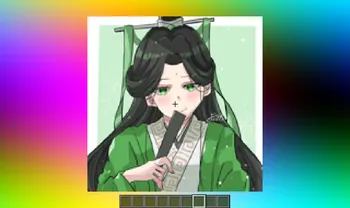
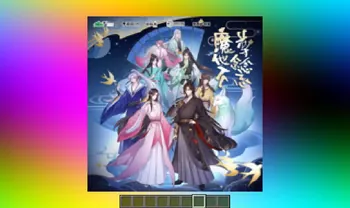
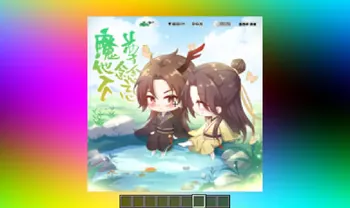
## 截图
[/MD]
# 图像着色器
仅通过光影在游戏画面中显示一张自定义图片。
> **注意:** 光影首次编译可能需要较长时间,请耐心等待。

## 准备自定义图片
1. 使用 `ffmpeg` 或其他图片处理工具,将图片调整为 **160×160 像素**。
```bash
Using ffmpeg:
ffmpeg -i Input.png -vf scale=160:160 image.png
```
2. 将调整后的图片放入与下方 Python 脚本相同的目录中。
3. 运行脚本,生成 ``image_chunks`` 文件夹。
4. 解压光影包,将生成文件夹中的 16 个 `.glsl` 文件复制到 ``shaders/data/image_chunks``。
5. 进入游戏,在光影设置中启用“自定义图片”选项。
6. 等待光影编译完成后,即可在屏幕上显示自定义图片。
## Python 脚本
```python
from PIL import Image
import os
def generate_glsl_chunks(image_path, output_dir="image_chunks"):
try:
img = Image.open(image_path).convert('RGBA')
except FileNotFoundError:
print(f"Error: Image file not found at {image_path}")
return
width, height = img.size
if width != 160 or height != 160:
print(f"Error: Image must be 160x160 pixels, but it is {width}x{height}.")
print(f"You can use:")
print(f"ffmpeg -i image.png -vf scale=160:160 output.png")
print(f"to adjust the image resolution.")
return
os.makedirs(output_dir, exist_ok=True)
chunk_size = 40
num_chunks_x = width // chunk_size
num_chunks_y = height // chunk_size
for chunk_y in range(num_chunks_y):
for chunk_x in range(num_chunks_x):
left = chunk_x * chunk_size
upper = chunk_y * chunk_size
right = left + chunk_size
lower = upper + chunk_size
sub_img = img.crop((left, upper, right, lower))
pixel_data = list(sub_img.getdata())
array_name = f"image_data_{chunk_y}_{chunk_x}"
output_file_path = os.path.join(output_dir, f"{array_name}.glsl")
glsl_array = f"vec4 {array_name}[{chunk_size * chunk_size}] = vec4[{chunk_size * chunk_size}](\n"
for i, pixel in enumerate(pixel_data):
r, g, b, a = pixel
glsl_array += f" vec4({r/255.0}, {g/255.0}, {b/255.0}, {a/255.0})"
if i < len(pixel_data) - 1:
glsl_array += ","
if (i + 1) % 4 == 0:
glsl_array += "\n"
glsl_array += ");\n"
with open(output_file_path, 'w') as f:
f.write(glsl_array)
print(f"Generated file: {output_file_path}")
# --- Config ---
image_file = "image.png"
output_directory = "image_chunks"
generate_glsl_chunks(image_file, output_directory)
```
## 截图







[/MD]